


There is not much that you can change about an apartment so I have turned to tackling the balcony. These little babies are for my herb garden


I've started volunteering at Common Threads Farm doing chores in the evenings. This weekend I went to the Farmer's Market to help children paint bee boxes.


From the interwebs:
| Via |
 |
| outfit envy Via |
 |
| Via |
 |
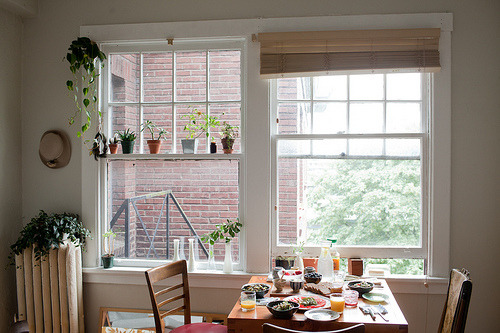
| I can't stop looking at pictures of this place. Via |
 |
| NEED to learn to make these. Via |
 |
| Kitchen envy. Via |
Watch this:
Read this:
“Google, for example, says that its legendary free meals are meant to keep people happy and healthy over the long haul—and, of course, working longer at Google. Meanwhile, the setting, with tables for seven to eight as opposed to 40, is intended to provide the right climate for offhand brilliance. “The cafeterias are designed to make food social rather than fast,” says Jennifer Kokowski, who is one of Google’s in-house social scientists and studies the company’s food programs. “We recognize that innovation requires serendipity, and the lunchroom is the best place for that.”
| — |
Listen to this:
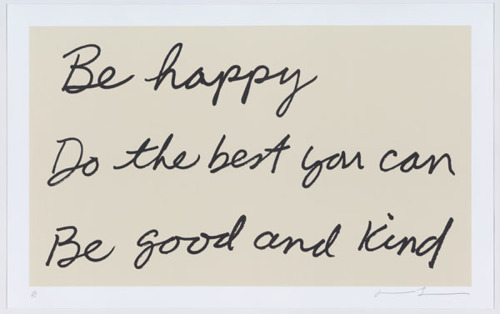
Don't forget to:
 |
| Via |


