So, yesterday I showed you how my roommate and I made a burlap bag for her packaging product. After we made the bag, she finished it off by painting it with the logo that she designed. This is the technique that we used to paint the bag:
Tuesday, February 26, 2013
Monday, February 25, 2013
Make it Monday: Burlap Bag
This week's Make it Monday is a little bit different. I spent this weekend racing sailboats so I didn't have time to do my own project but, I did teach my roommate to sew a burlap bag last week as packaging for a design project she did for school. I will give you a brief tutorial of how we made the bag and the details on some techniques we used tomorrow for "Technique Tuesday".
These are the steps that we used to make a bag out of burlap but you could use any other sort of fabric:
Monday, February 18, 2013
Make it Monday: Upcycled Mittens
These mittens are made from a felted sweater. I happened to find this one on the side of the road already felted (a mix up in the washing machine was probably why it was discarded) but you could also buy a wool sweater and felt it yourself.
Supplies:
- Old or thifted felted wool sweater
- Scissors
- Thread
- Sewing machine
- Embroidery floss
- Needle
- Paper
- Pencil
Skills used:
- Basic embroidery
- Basic sewing
Sunday, February 17, 2013
Friday, February 15, 2013
Lovelies, Feb. 15th
A few lovely things from the internet this week:
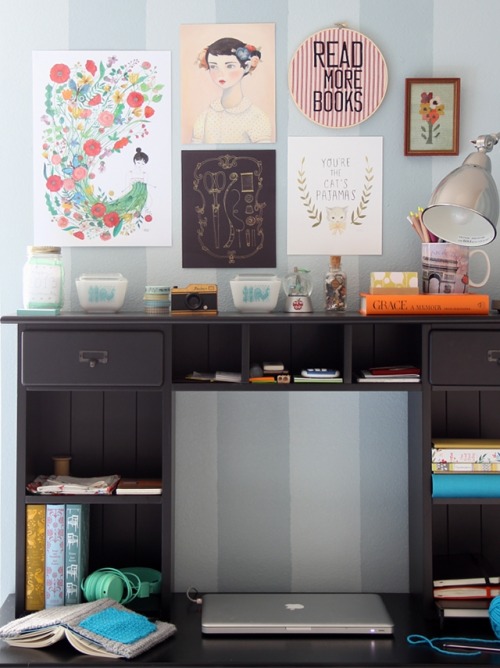 |
| Such an organized work space! Via |
 |
| Seward Park, Seattle by the lovely Madeleine |
 |
| Via |
 |
| North Campus at my university Via |
Thrift Shop - Vintage “Grandpa Style” Remake
New version of a favorite
 |
| Want Via |
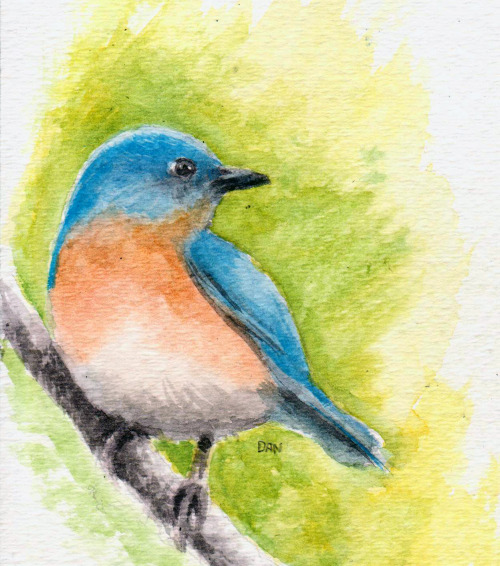 |
| Lovely drawing by a friend Via |
 |
| Home Sweet Home Via |
 |
| Via |
Have a lovely weekend,
Me and my Valentine
I forgot to include a picture in my last post!
Meet my Valentine, Jane:
She loves licking the ice cream bowl, sitting on the bookshelf and hiding under the oven. She is pain sometimes, but doesn't that pink little nose just go straight to your heart?
Meet my Valentine, Jane:
She loves licking the ice cream bowl, sitting on the bookshelf and hiding under the oven. She is pain sometimes, but doesn't that pink little nose just go straight to your heart?
Thursday, February 14, 2013
What I Wore: Valentine's Day
Now I know I said that I'm not really into Valentine's Day this year, but I'll take just about any excuse to get dressed up, even if it is just to go to class.
If you haven't met me, you should know that I am very petite. I'm about 5'4" and I've never hit 100 lbs. I started sewing mostly to alter clothes to fit me. Because I am so small, I used to hate dressing "cute" because I thought that it made me look like a child. Now that I am 22, I have pretty much embraced the fact that I look young (the guy that I bought a car from this Christmas thought that I was 18!). Oh well, I'll just look 22 when I'm 30. So bring on the bows and ruffles!
I hope you all had a happy Valentine's Day
XOXO,
Monday, February 11, 2013
Make it Monday: Freezer paper stencil
Since it's the week of Valentine's Day, I thought I would bring you a heart themed tutorial for this week's Make it Monday. I'm not super into Valentine's Day this year (as in I give all Valentine's displays in the store a 20 foot radius) but I didn't want to ignore all you happy lovebirds out there, so here we go.
 |
1. Supplies:
- Plain t-shirt
- Freezer paper
- Exacto knife
- Fabric paint (I used acrylic paint and an additive that turns it into fabric paint. It costs less but might turn out a bit stiffer)
- Iron
- Sponge paint brush
2. Trace the outline of what you want to paint onto the paper side of freezer paper (the NON-waxy side) and cut out the areas where you want paint. Remember that the stencil will be applied waxy side down. (I cheated and used a Cricut cutter machine to cut out my stencil which is why it is so intricate. You can cut a complicated pattern by hand but it might take some practice).
3. So here is the cool part about freezer paper. Since one side is waxy, you can iron it and it will stick temporarily to the fabric. You have to make sure to iron on the paper side, or else you will get wax all over your iron. Place your cutout waxy side down on your shirt and iron quickly until it sticks but not too much to burn the paper! Then use a sponge brush to paint around the stencil. I use a sponge and dabbing motions because it is less likely to move the stencil or push paint under the edges.
4. Wait for the paint to dry and then pull off the paper stencil. Follow the instructions on the fabric paint to set it and care for it when cleaning. Then enjoy the shirt you made!
P.S. If anyone wants to make this exact heart stencil, I can send you the file that I used just let me know in the comments that you would like it.
Stay crafty,
Friday, February 8, 2013
Thursday, February 7, 2013
Map Dress
Remember how much I like maps?
Well, I like them so much that I bought a map dress! A map of Middle Earth that is.
Check out my new feathers:
In case you were wondering, the dress is from Black Milk and cost waaaay more than I would like to admit.
Now I need to find somewhere that sells kick ass shoes. Any suggestions?
Well, I like them so much that I bought a map dress! A map of Middle Earth that is.
Check out my new feathers:
 |
| Hey look! The Shire is on my ribs! |
Now I need to find somewhere that sells kick ass shoes. Any suggestions?
Wednesday, February 6, 2013
Thrifting Tips
I love this store because a. they sell things very cheap and b. all the proceeds go to the local non-profit Lydia Place! I took a trip there this weekend to drop off a pile of things that I have have been collecting all summer and to take some pictures for you folks.
Here are some tips for fruitful thrift shopping:
Monday, February 4, 2013
Make it Monday: Chunky Cowl
Supplies needed:
1 skein chunky yarn or 2 skeins worsted weight and crochet with two strands
Crochet hook size P
Scissors
Yarn needle
Skills:
Basic crochet skills (double crochet and half double crochet stitches used)
Instructions:
Chain 55 and join to make a circle. You can make it larger or smaller to fit your neck.
If you want to wear it as a hood make sure it is long enough to frame your face and neck.
Row 1: Single crochet in each stitch all the way around.
Join with a slip stitch in the top of the first single crochet.
Row 2: Double crochet in each stitch all the way around.
Join with a slip stitch in the top of the first double crochet.
Row 3: Half double crochet in each stitch all the way around.
Join with a slip stitch in the top of the first half double crochet.
Repeat rows 2 and 3 until the cowl is wide enough to hang comfortably around your neck and pull up over your head if you want a hood.
Fasten off, trim yarn and weave in tails.
I love this scarf because it's just so snuggly! I love to wear it as a shawl and a hood. I had a head cold all weekend and basically lived in it.
Edit: I made a downloadable ebook of this pattern. Get it here
Edit: I made a downloadable ebook of this pattern. Get it here
Labels:
crafting,
crafts,
crochet,
make it monday,
tutorial
Saturday, February 2, 2013
Current anthem
A song about thrift shopping? Sounds a bit like my life.
(*warning language)
Thrift Shop- Macklemore & Ryan Lews
I'm digging, I'm digging, I'm searching right through that luggage
One man's trash, that's another man's come-up
Thank your granddad for donating that plaid button-up shirt
P.S. I'm going to my favorite thrift store with my roommates today so keep an eye for a post on thrift store shopping tips
One man's trash, that's another man's come-up
Thank your granddad for donating that plaid button-up shirt
P.S. I'm going to my favorite thrift store with my roommates today so keep an eye for a post on thrift store shopping tips
Subscribe to:
Comments (Atom)


